Showing posts with label tutorial. Show all posts

Tuesday, 29 December 2015

Urban Decay Vice 4 Palette Review! ♥

Konnichiwa Minna! ♥ Today I have an Urban Decay review and it's for the Vice 4 palette. This palette came out a couple of months ago and I just received it as a surprise Christmas present from my wonderful fiance, so i've decided to do a quite in depth review of it since this is my new current make-up obsession!


The packaging is absolutely stunning, I love the holographic edgy design of the palette and also how it's completely practical. As most people know Urban Decay isn't the best at making packaging that's easy to travel with or store, so this is perfect as it comes with a travel pouch and is made from sturdy plastic.


The mirror is freaking huge... This is always a plus for me, and it can stay up on it's own without flopping back like many other palettes. It also has a clipped closure, so there's a very small chance that the palette will randomly open in your bag or suitcase!


There are exactly 20 eye shadows that are mattes, shimmers, duo chromes and glitters. For me this is probably the most balanced Urban Decay palette i've seen in a long time, it's not very often you get a nice selection of matte shades from UD so this was a lovely surprise.


Top to Bottom: Bones, Grip, Deadbeat, Beatdown & Pandemonium

The first line of shades are pretty dark and they are all super shimmery. Deadbeat was the only slight disappointment in this line as the glitter doesn't really show up as well as it does in the pan and the texture is a little chalky. Other than that one shade, all of the others are stunning!


Top to Bottom: Framed, Fastball, 1985, Underhand & Harlot

My favourite line of shades ever... All of these red/pinks are fantastic, the texture on all of them is butter smooth and the colour pay off is brilliant, I would've probably bought this palette just for these shades in all honesty.


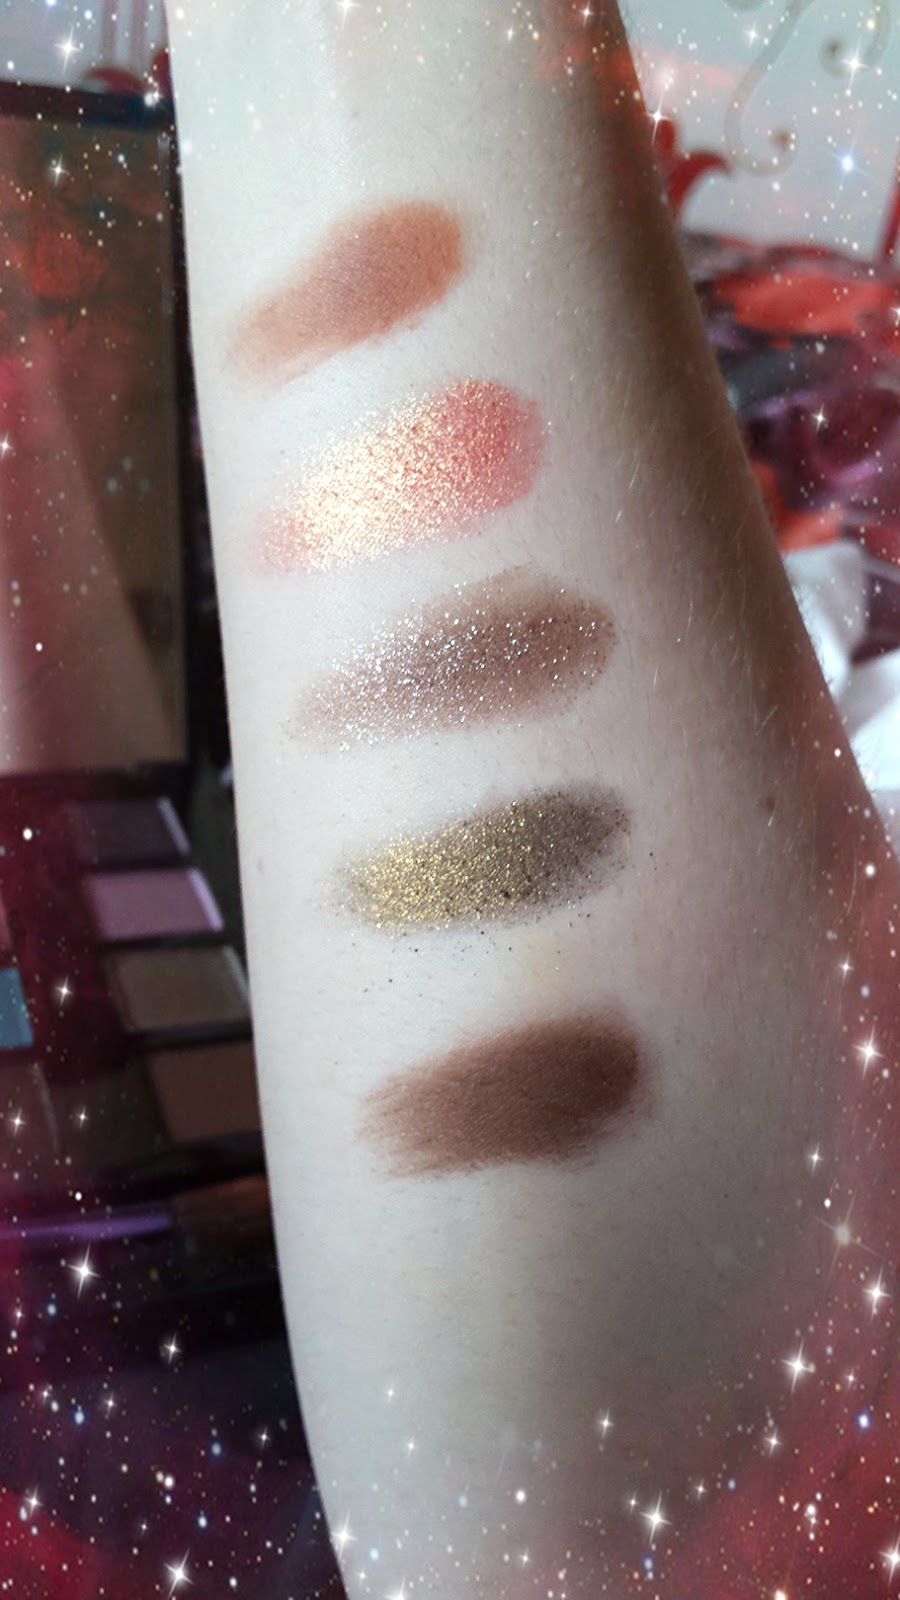
Top to Bottom: Discreet, Grasshopper, C-Note, Arctic & Robbery

Ahhh the pretty greens. Just like the red/pinks, all of these are very buttery and easy to apply. However the last shade (Robbery) is a little on the chalky side much like Deadbeat from the first row. Chalky textures aside, the pigmentation is actually really amazing on all of these shades including Robbery.


Top to Bottom: Bitter, Flame, Low, Crowbar & Delete

These colours look so much better on the skin than they do in the palette, it's not too often I say that as well. My favourite here is definitely Flame, it's an insane orange/gold/red holographic shade that looks incredible when you're in natural light. The two mattes here are very well pigmented at apply smoothly which was surprising. 

Overall I would completely recommend this palette, it's fun with enough neutral shades to use everyday. It's such a well balanced palette at for £43 I think it's completely worth the money!

Urban Decay Vice 4 Palette


Thank you very much for reading my review and I hope you stick around for more in the future 
ヾ(〃^∇^)ノ...
 You can find updates on my posts from my Social Media pages:


Thursday, 19 February 2015

GEO Princess Mimi Chocolate Brown Circle Lenses Review + Gyaru Make-Up Look

 Konnichiwa Minna-san! Today I have brought you two posts in one ♥ This will be a Gyaru Make-Up Look & a review for my new Circle Lenses from GEO Medical! 

I have never worn contact lenses before in my life, and I have been lusting after these beauties for at least 5 months because I had no idea if I could get them in my eyes. I finally bit the bullet and bought them a couple of weeks ago and i've been trying them out for a while. 

The ones I have bought are the GEO Medical Princess Mimi (Bambi Series) Circle Lenses in the shade Chocolate Brown, and sooo far... I LOVE THEM! Oh wow, these are so amazing. They fit in perfectly with my hazel/green eyes and they are such a lovely almost natural colour. The full details of these circle lenses are below, but I can honestly say they are such good quality and highly recommended.

Design: 5/5 - They are very natural which is what I was aiming for, the outer black band is really thick in colour, giving a dolly-eyed look.

Comfort: 4/5 - I'm still getting used to them so my vision can go blurry from time to time, but there is no irritation, pain or eye watering.

Enlarging: 5/5 - They enlarge my eyes beautifully, but not too much for them to look creepy and odd. The size of the lens isn't an issue with it going in my eye either, once you have the technique then it becomes a lot easier.


Diameter: 14.8mm
Water Content: 38%
Base Curve: 8.8mm
Life Span: 1 year disposal
Price: £15.30

With the purchase of these Circle lenses you also receive a macaron lens case. I also have a coupon code for a free animal lens case & a mystery gift when you buy a pair of lenses.

Coupon Code: vanigyaru


At the same time as photographing my new circle lenses I thought I would do my make-up in a Dolly/Gyaru fashion as that is my signature look ♥ 
I used a matte brown eye shadow and placed it in the crease, and then gradually pulling it up a little further above the crease. I then winged it out more than I usually would, into a point. I darkened the brown with a off black/brown colour in the outer corners and the crease as well to give the look a bit more dimension. 
I then used a champagne coloured eye shadow on the lids and a white eye shadow on the inner corners. I lined my eye lashes with my Urban Decay 24/7 Liquid Liner in Perversion and done a slight cat eye ( I have a tutorial for Cat eye liner, which I will link below). I applied my Estee Lauder mascara and Bourjois Accent Eye lashes on the outer corners. 

Under my eyes I used a matte nude eye shadow & a white eye shadow to create a brightening effect, and I lined my waterline with white eye liner as well. I applied bottom eye lashes and filled in between my lashes with a taupe brown shade to make sure they mix well with the false eye lashes.   

For my face I used my Skin79 Prestige BB Cream & my Lancome concealer, I then applied my Estee Lauder blush & highlight. 

For the lips I done a slight ombre/ulzzang look using a pale pink lip colour, a red lip colour and a frosted pink lip balm & the tutorial for that will also be linked below  

I hope you all enjoyed this review/make-up look & I hope you be posting more really soon! 

Sayonara 

Cat Eye Liner Tutorial:

You can find updates on my posts from my Social Media pages:


Sunday, 15 February 2015

Step-By-Step Liquid Eyeliner Makeup Look - The Cat Eye!

 Konnichiwa Minna-san! I thought I would create a sort of step-by-step tutorial for liquid eyeliner, for those who find it awkward or a little intimidating. I will also be including a variety of liquid eyeliners that I recommend as well! 


1. Start from the center of the eye to estimate the thickness of the eyeliner band that you are looking for.   


2. Draw a steadily thinner line on the inner corner and do this in short flicks, instead of drawing the line all at once. This will reduce the chances of messing the line up.


3. Draw a line out to the outer corner of the eye and extend it into a sharp line as far as you want. This will be how far your cat eye will reach. Connect the line with another shorter line from the bottom outer corner of the eye. This will create a outline of a triangle with a blank spot in the middle.


4. Fill in the triangle and proceed to fix any mistakes or thicken the line more if you wish. After all this is only a small guide, after which you can play around with all types of styles and thicknesses.  


5. That's you finished! It can be hard to get used too, but after a while it will seem like second nature. 

Some people will find different applicators more easier to use than others, for people who are starting out I would recommend a sponge-tip as it can give you more control over your movements. However it mostly makes your lines quite thick, which can be an issue. Gel liner is very useful as a stepping stone between pencil and liquid liners, as the formula is a bit stiffer and easier to control. I personally find a thin hair-like applicator much easier as you can get the flicks very thin and precise.

Eye liner: Urban Decay 24/7 Liquid Liner - Perversion 


I hope you liked this tutorial Minna-san! ♥ 
If you have any requests for a tutorial or review then please contact me on any of my social media pages and I will get back to you ASAP (ノ◕ヮ◕)ノ*:・゚✧

Sayonara!!! xxx

You can find updates on my posts from my Social Media pages: